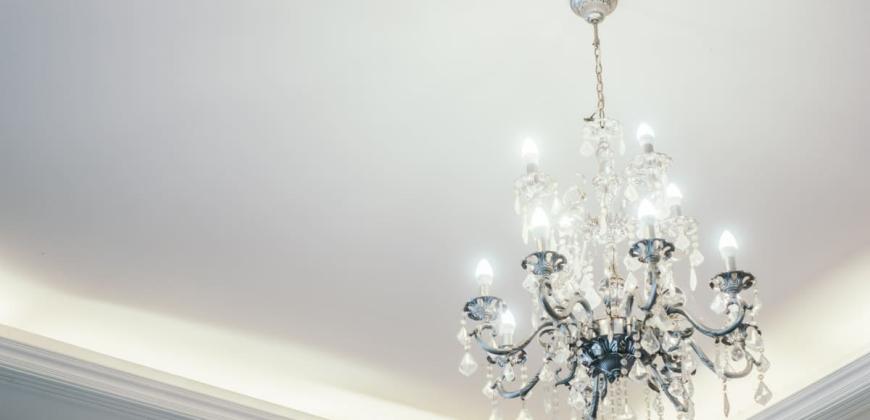
How to properly install a chandelier: steps and recommendations
Shari
Have you ever dreamed of lighting up your home with an elegant chandelier? In addition to completely transforming your room, installing a chandelier can also be a very satisfying DIY project. But to do it correctly and safely, it's important to follow the right steps and be patient. Let's see how you can install a chandelier correctly, without complications!
Choose the right chandelier
The first step is to find the perfect chandelier for your room. Think about the size, style, and ceiling height. A chandelier that is too large in a small room can overwhelm the space, while one that is too small will make it seem lost. If you have a spacious living room with high ceilings, a chandelier with multiple arms can be the ideal solution. In addition, don't forget to consider the overall design of the room so that it fits harmoniously with the rest of the decorative elements.
When making your choice, also check the weight of the chandelier. It needs to be supported by a solid structure, especially if it is a large one. Some modern chandeliers are lighter, but if you have chosen a more imposing model, make sure that the fixture is adequate.
Once you've chosen your model, check the technical specifications, including the type of bulbs it supports and whether it comes with all the accessories needed for installation. In some cases, you may need to purchase hooks or support plates separately.
Preparation before installation
Once you have the chandelier, the first thing you need to do is turn off the power. Safety is a top priority, so don't take any chances. Double-check that the circuit that powers the room is completely disconnected before you start working. A voltage tester is very useful for this.
Before removing the old light fixture, make sure you have all the tools at hand: a screwdriver, pliers, and a drill if necessary. It's also important to have a partner to help you, especially if you've chosen a chandelier that's heavy. Some living room light fixtures are easier to handle, but it doesn't hurt to have someone hold the chandelier while you're fixing it.
After you've removed the old light fixture, clean the area thoroughly and check the wiring. If the wires are old or damaged, it's a good idea to consult an electrician to replace them before installing the new chandelier.
Fixing the chandelier
Now that everything is ready, it's time to mount the chandelier. Depending on its weight, you may need a support plate or an additional hook to ensure stability. If your ceiling is false or not very solid, it would be a good idea to install a special anchor to support the weight. This will avoid possible accidents and extend the life of the chandelier.
Once you have secured the chandelier to the ceiling, it's time to connect the wires. The black or brown wires are usually the live wires, and the blue wires are the neutral wires. Connect them according to the instructions in the manual and use pliers to ensure a tight connection. Cover all joints with electrical tape for extra safety.
If you have chosen a chandelier that matches your living room wall lights , you will have optimal lighting, regardless of the activities carried out in that room and you will be able to create a completely unique design!
Checking and adjusting
Once you have finished installing, turn on the power and check if it is working properly. If the bulbs do not light up, check the wire connections again and make sure they are tight. Sometimes, even a little carelessness can lead to a malfunction.
If everything works, adjust the height of the chandelier. A chandelier hanging too low can be uncomfortable and even dangerous, especially in passageways, such as hallways or living rooms. The general rule of thumb is to leave about 75-85 cm between the table below the chandelier and its base, to create the perfect balance between light and space.
Once you've adjusted everything, take a step back and admire your handiwork. A well-installed chandelier can completely change the atmosphere of a room, especially if it's one of these custom, one-of-a-kind chandeliers that bring a touch of personality to your home.

Chandelier maintenance
Once you've finished installing your chandelier, don't forget to maintain it. Even if you've invested time in installing it properly, it will still need regular cleaning to maintain its shine. Dust can collect on the chandelier's arms and crystals, diminishing the intensity of the light and its beauty.
At the same time, do not lose sight of the fact that it is necessary to carry out the cleaning carefully. Once a month, you can use a soft cloth to wipe the chandelier. If the chandelier is made of delicate materials, such as crystal, use special cleaning solutions.
Additionally, make sure all your light bulbs are working properly and replace them when necessary. If you've chosen energy-efficient or LED models, they'll last longer and reduce maintenance costs in the long run.
That said, installing a chandelier may seem like a complicated project at first glance, but with a little patience and attention to detail, you will enjoy a new and elegant light in your home. By following the steps above, you will have the guarantee that the work is safe, correct and that the final result will impress. So, do not hesitate to add this spectacular design element to your home and enjoy the stylish atmosphere it creates!
We are waiting for you on our website with premium home lighting solutions, adapted to your personal style and the design you love, be it modern, minimalist, rustic or with classic accents. Choose the best lighting solutions and transform your home into a stylish and energy-efficient one.
